Before I begin, I do want to point out that I'm not using any software other than Adobe Flash Media Encoder to stream into my JTV channel. So I'm not using Webcammax or any other software out there to capture video of my desktop. I use hardware instead and for good reasons.
A video card with S-video output is the key to stream high quality video of your desktop without using any form of software that can use a chuck of your memory. There are software to screen capture your desktop such as Webcammax, CamStudio, and many more. Those are great, but imagine having a program to capture video and play PC games at the same time would cause the performance to suffer greatly unless you have a powerful machine to handle both of those simultaneously. Another fault to video capture software is that it may not be free, or it's very limited on quality. With a video card, you don't have to worry about any restrictions or memory issues. That's why I decided to use my own method, and it has been working great.
Step 1 - Introducing the video card
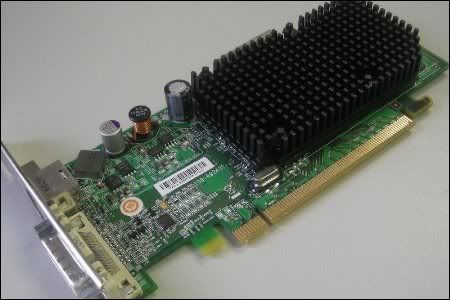
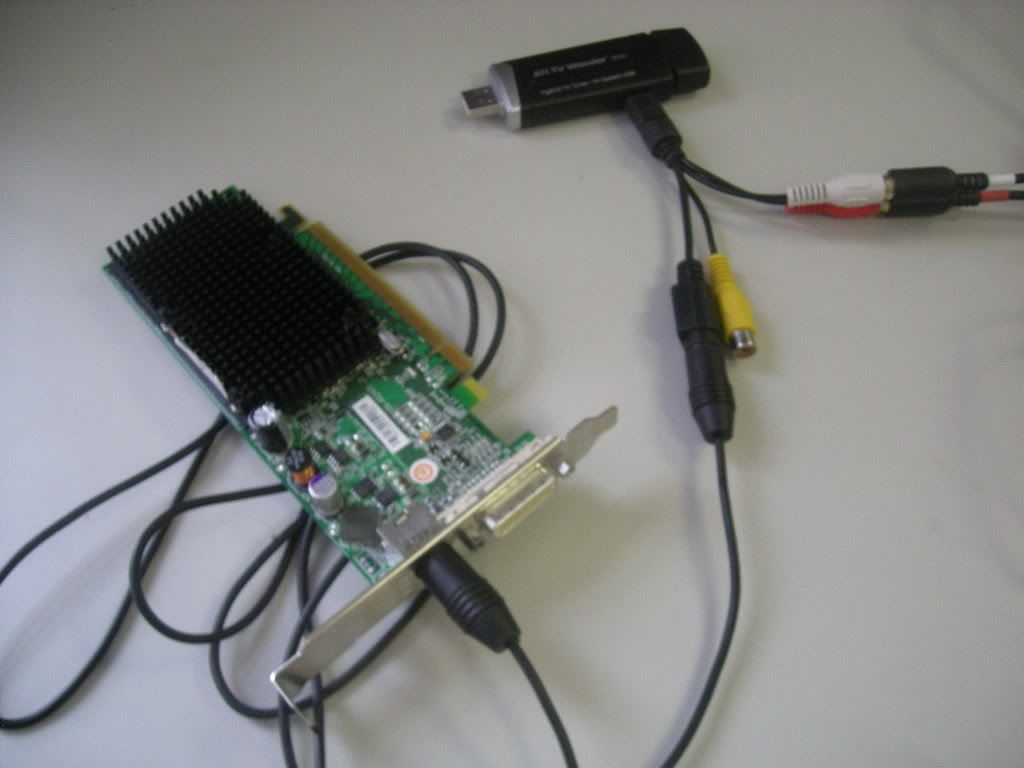
So this is my PCI-Express Video card. It's an ATI Radeon x1300 Pro equipped with 256MB performance. The reason why it's so thin is because my machine is a dell XPS 210. The width of this machine is thin so a big video card won't be able to fit unless I take the side covers off and have half the card slot sticking out of it. Not to mention this video card came with the machine so that's another reason why I've been using it.
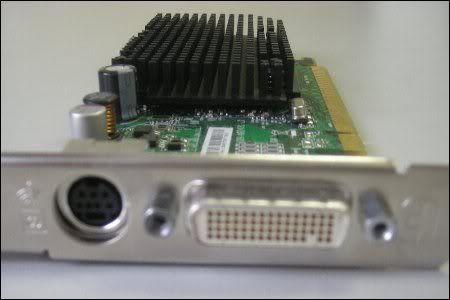
Alright so to explain how this works. This card is known as a dual graphic card. The right side is the DVI connector that I plug straight to my monitor. The left side is the S-video output that I can connect to any video input available. Do you see where this is going already? With my video capture device, I simply plug from the Radeon x1300 to the capture device. That's how I get video captured from my computer. This is why you need a dual graphic card to get two simultaneous screens at once. Sometimes I plug it to my TV when I'm watching a movie or an anime series. It's pretty convenient sitting comfortably on a couch than sitting on the chair.
Step 2 - Using a video capture device
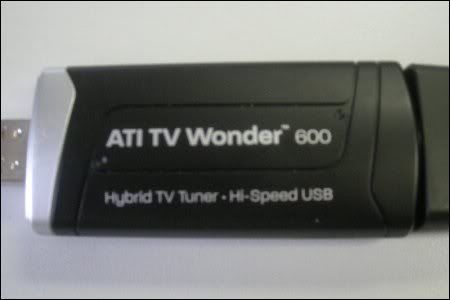
Most of you have already seen this device that I use to capture both audio and video to stream it to my channel. This is an ATI TV Wonder 600 USB capture device. The TV wonder is an important tool needed to get all of this to work. This device came with a software where I can record and save so I could upload to YouTube that I've done recently.
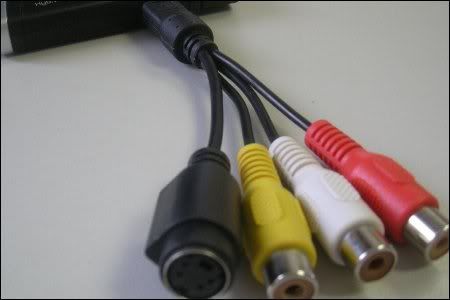
As you can see, I can plug S-video, video, and audio. In this case, I use S-video since the quality is much higher than regular video. It's a simple USB device and it comes with so many video resolution options that I can record in any range I want. This small thing does really well and the cost is quite high than expect. A high quality one will give you more variety of video sizes and a crisper image. A low quality may result with a fuzzy image and you are limited with a small video size that you can barely see the font on screen. This is very important if video quality is a major concern for you. You do not have to buy this if you can fit a video card to your machine. The reason why I have an external video device is because there's no room to fit more cards to my small machine.
Step 3 - Capturing Audio
This one is no easy task either. Especially if you have any radio interference roaming around your room that can cause the audio to make constant static noise. This will have to be adjusted based on your own equipment so feel free to do some major trial and error if you were to experience this problem.
So you are probably thinking I'm going to mention an audio mixer. Nope, I found another alternative that I can capture the microphone and the computer audio at the same time. However, it has a lot to do with another hardware device that I'm using.

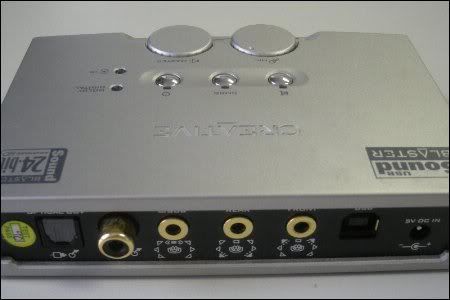
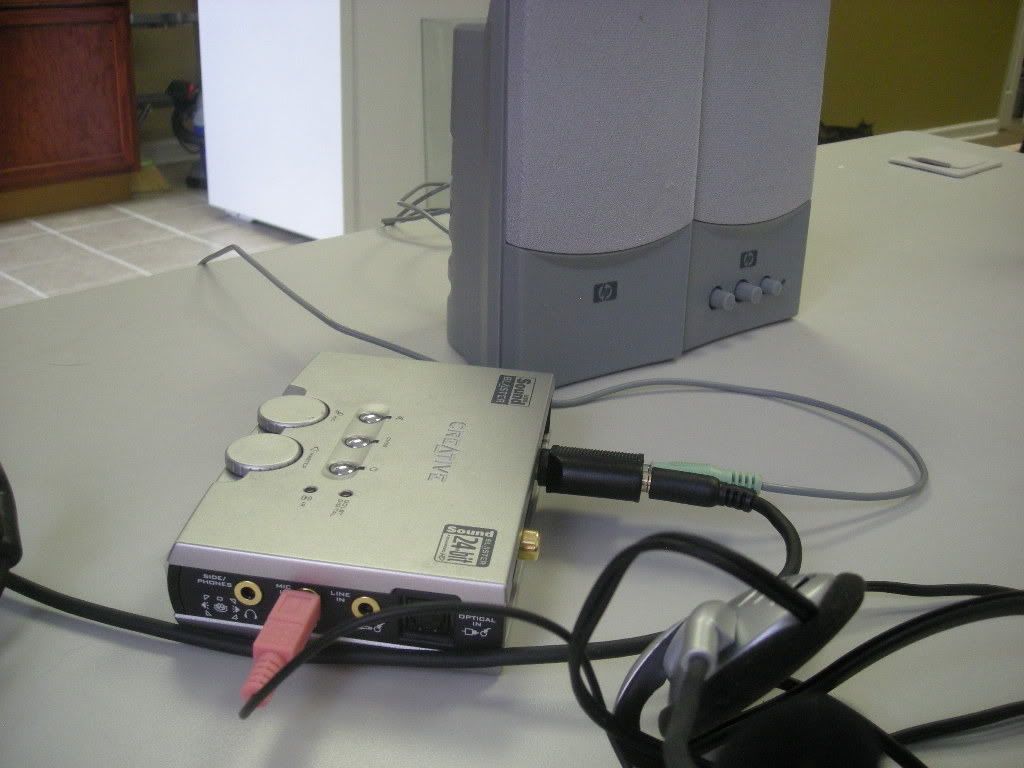
Say hello to my little fri... gadget. This is a Sound Blaster USB audio capture device made by Creative Labs. This neat thing can plug to the USB and has it's own audio port as if you were to plug a sound card to your computer. Again, the reason I got this is because my thin desktop does not have room for an extra card slot such as a sound card. The neat thing I love about this is that it comes with a remote control that I can adjust the volume like I'm using a TV.
This part is lengthy I know, but capturing audio goes very specific on explaining how it works, especially coming from me who learned all of this stuff by himself.
Now that I've introduced the USB audio device, I can finally explain how I can get microphone and computer audio to work with this gadget.
For Computer audio, I use a 1/4 mic connector to RCA cable. 1/4 mic goes into the audio device to get sound, and the RCA is connected directly to my video capture device. Now this poses a problem that I won't hear sound myself since it's plugged to my capture device. If you use a splitter, then that problem is solved. So I have one cable running to my capture device, and the other cable to my speakers to get sound playing from the computer.
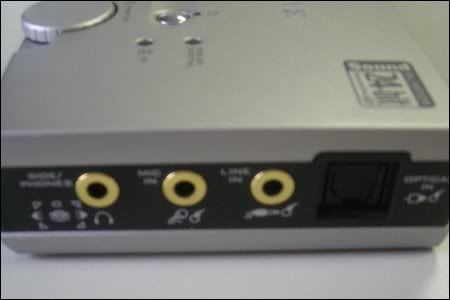
Now this gets interesting how I can record my voice. There's a mic port on the side of this device. Once it's plugged in, my voice will be played out-loud on the computer like it was some kind of karaoke machine. So with that in mind, I could play my voice on the computer at the same time you can hear if I'm playing music or anything. I just grabbed a random headset and plugged the mic port to get a crisp sound of my voice this way since the headset mic is close to me. That's how I was able to get my voice so loud recently if you've watched my castings lately.
Step 4 - Altogether
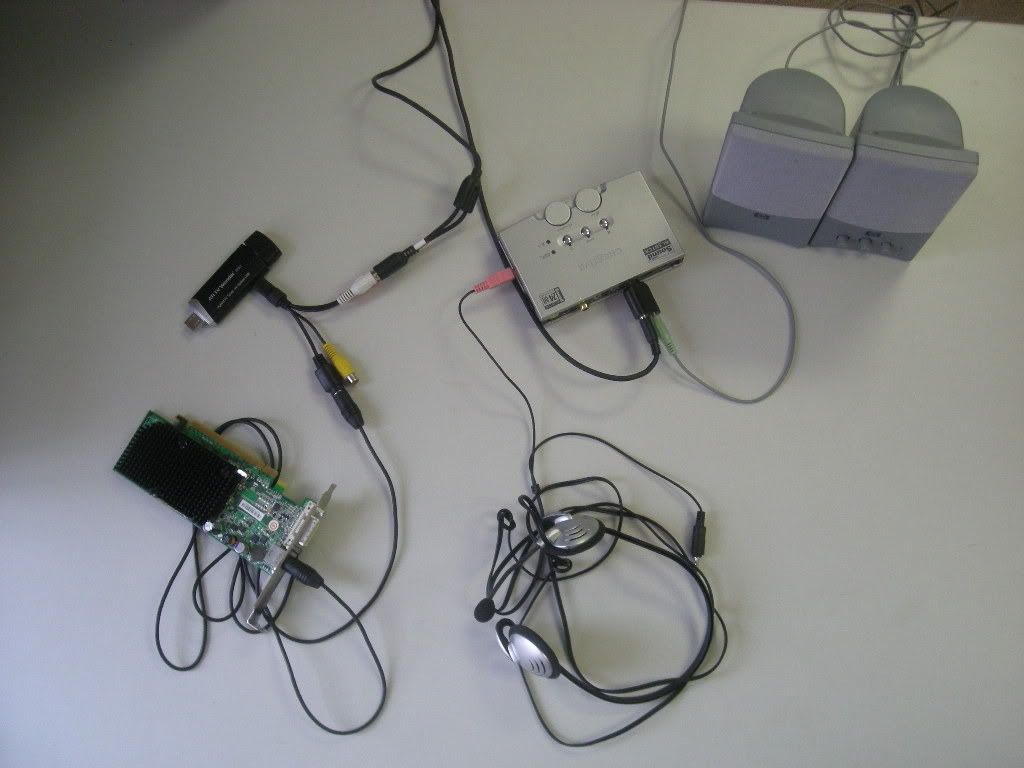
So either you get it, or you're still drawing a blank from all this. I really cannot explain my setup any easier than this since this is my first time explaining how I do this to broadcast on Justin.TV. It took a lot of time to brainstorm how all of this works, and the result turned out to be a success. It wasn't easy, but all that tweaking that I've been doing has finally paid off.
So what would it look like if I got all of this equipment together? I took out my equipment and rearranged them so you can get a visual look on how I got the connections organized in this fashion. You can click on the thumbnails to see a large view of it.

So if you have any questions about all of this in general, feel free to comment. You do not have to follow exactly how I do it, I'm just basically showing you how I setup my stuff to broadcast on the computer. As for console video games, I've already explained that part roughly here. That guide is quite old because I use a different method than that now that seems to work so much better, but I'll save that part for another time.
My setup is all about hardware, instead of software. The investment on these equipment is quite high, but that all depends on how much you are going to dedicate yourself in doing this to be worth it or not. This can be compared to Pangya for instance. To learn how the mechanics work, you have to keep trying and learn from trial and error. The more time you spend on it, you will earn greater knowledge of it. The same case as trying to get my stream on Justin.TV as smooth as possible by tweaking it to get it just the way I want it.
I'm currently broadcasting on here for now: http://www.justin.tv/peper0/old
I haven't been doing this for awhile, so I'm trying to get back to my broadcasting groove again. So I'll be casting on that channel for awhile until I get an understanding on what my main focus is going to be on my main Justin.TV channel. Stay tuned to hear the future of Sweatdrop LIVE Gaming on Justin.TV. The name "SLGaming" is made for the purpose of Pangya and Justin.TV to the very beginning.